I’ve been home on paternity leave for a while, and my daughter has been going through an “oh no! Daddy moved more than six feet away, sound the alarm!” phase. Despite being on leave, I’ve been assisting with some issues at work remotely. I setup a home office, but that doesn’t work very well when the baby won’t let me leave the couch. So I setup a MacBook Air (bought used, very inexpensively) for couch work. This is a guide to how I write Rust code from the couch, on a tiny, underpowered laptop.
Getting Started
You’ll need some form of remote Linux system. This could be a virtual machine (even Windows Services for Linux), or a physical server. You’ll also need a local development station. In these examples, I’ve used screenshots taken on Windows—but the same process works on Mac OS X. I frequently use it to work on Linux server projects from the couch, on an old MacBook Air.
Connect to the Remote System with SSH
Open a terminal (or Putty), and connect to your Linux system via SSH. This servers three purposes:
- You can be sure that you have working login credentials.
- It’s easier if you start the project on Linux.
- You know that SSH (Secure Shell) works.
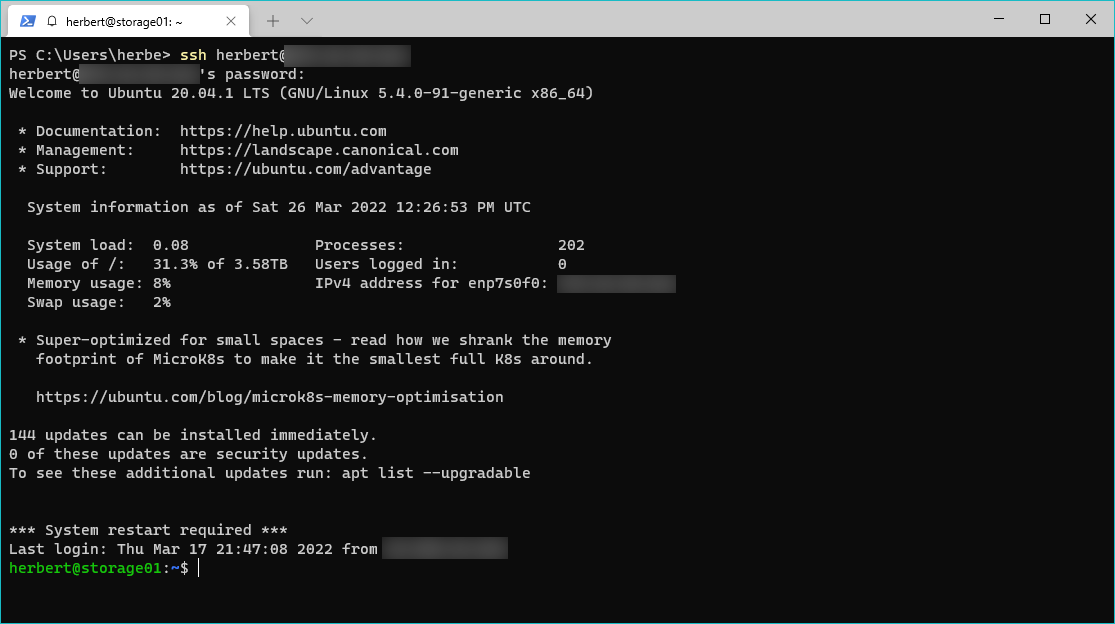
In my case, on Windows I open Windows Terminal. On OS X, I like to use iTerm—but the regular terminal will work. Connect to your remote Linux system:
ssh my_username@<my_ip_or_hostname>
For example, I might type ssh herbert@192.168.1.1. You will be prompted for a password. Enter your password, and you should see a login screen. Here’s one from one of our test VMs:
Create a Rust Project
Assuming the Linux system already has Rust installed (if it doesn’t, head to RustUp and follow the instructions there), you can create a new project with cargo new:
cargo new hello_rust_remote

This is just the same as starting a Rust project locally. If you already have a project on your Linux box, you can skip this step.
Setting up Visual Studio Code for Remote Development
Open Visual Studio Code. Open your “Extensions” (the set of boxes on the left) and search for “Remote Development”. This is a set of plugins from Microsoft. I typically install all of them, but you can just install “SSH” or “WSL” if you want.
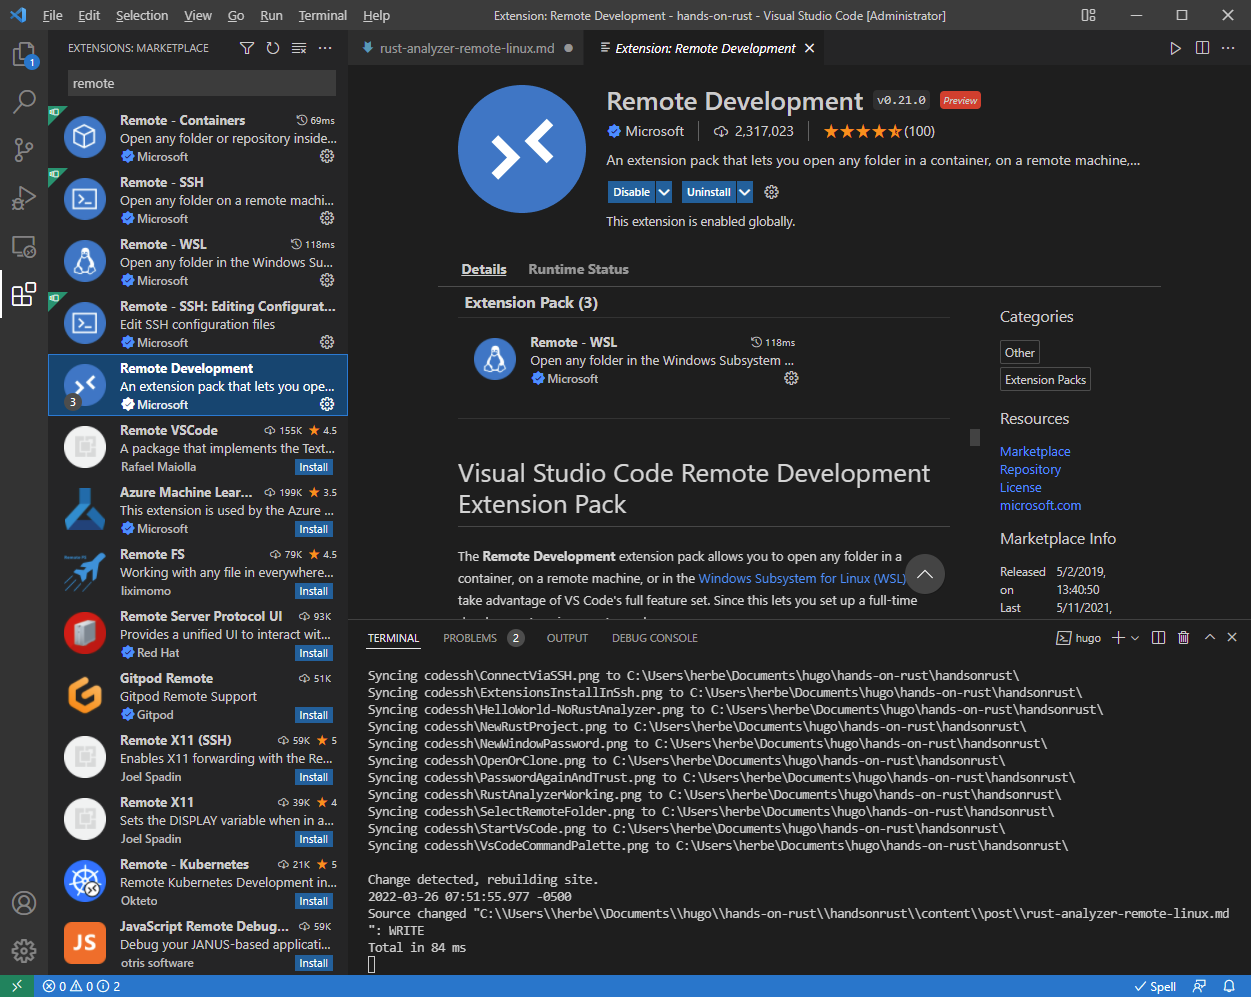
If you don’t have it already, install the Rust Analyzer extension also. It makes working with Rust much easier.
Connect to a Remote Host
Now that the extension is installed (VSCode may have restarted), it’s time to connect. Starting at the front page:
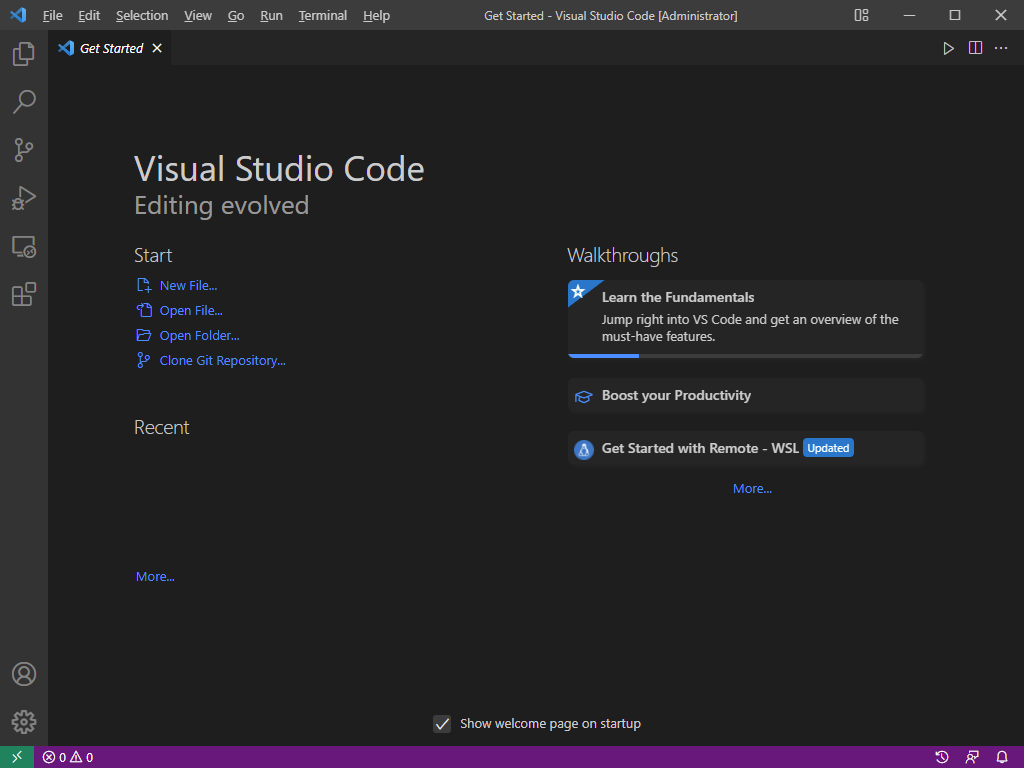
Navigate to View -> Command Palette in the menu (or use the keyboard shortcut, it’s Ctrl + Shift + P on Windows). In the palette, search for “SSH”:
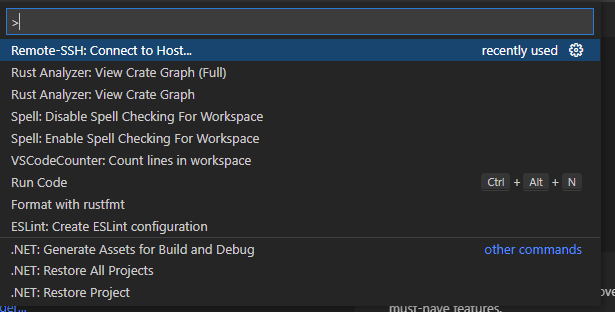
You want to select Remote-SSH: Connect to Host.... Once it’s selected, you will be prompted to enter the same my_username@my_ip_or_hostname pair you used before. Type it in, and press enter:

You may be asked to confirm an SSH key, and will be asked for a password. Visual Studio Code asks for your password:
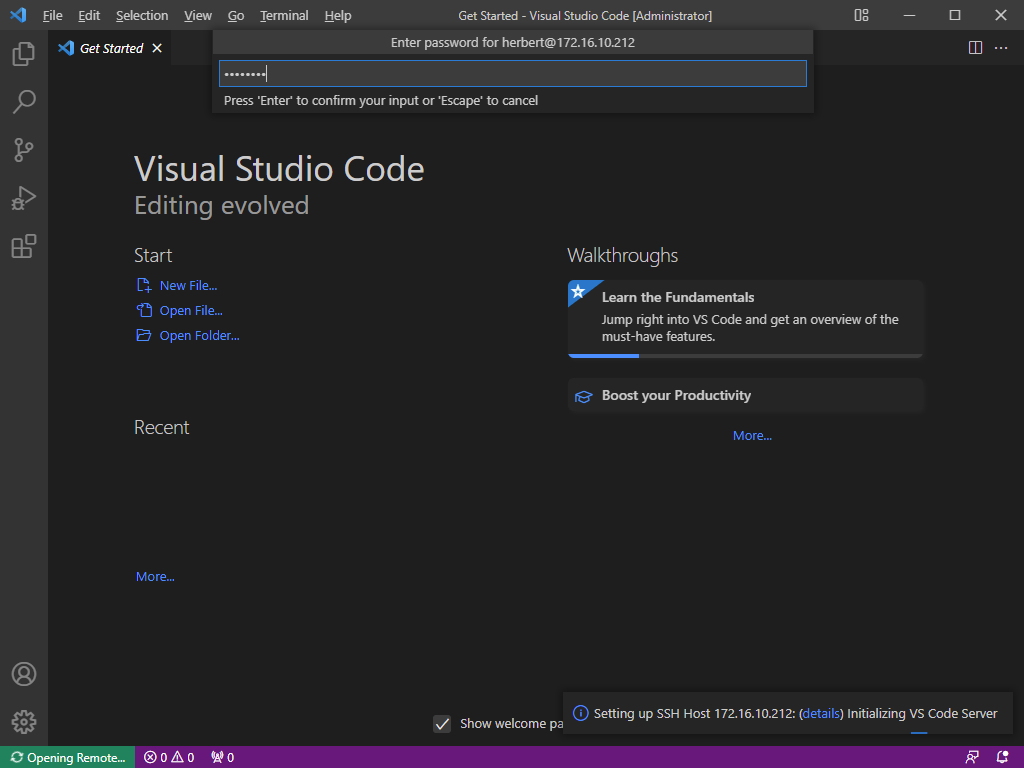
You should see in the bottom-left a green “Connecting to Remote Host”. You’ll also see some “Setting up SSH Host” messages. Give these a moment to complete. VSCode is installing a small nodejs application in your Linux account, to assist with remote development.
When it finishes, you can click “Open Folder”. You are presented with a list of directories on the remote system:
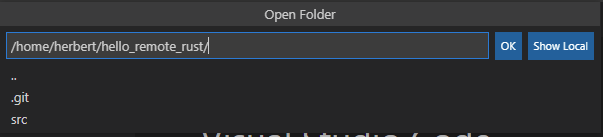
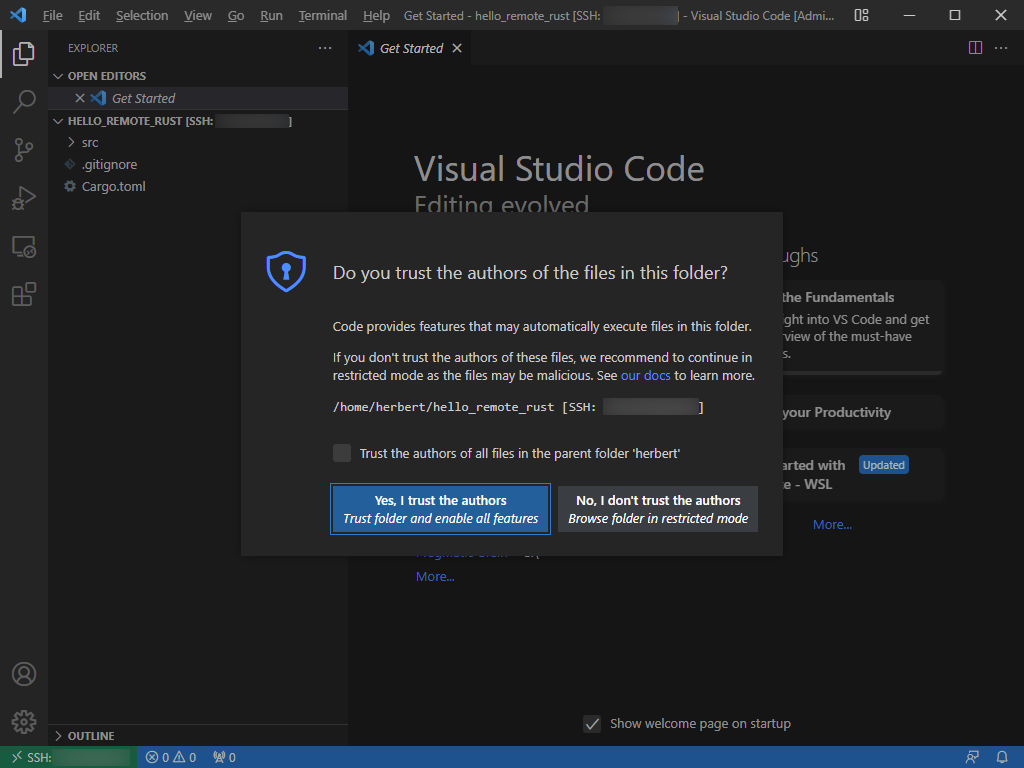
I’ve picked the project I created earlier. Once you select a folder, a new Visual Studio Code window appears and asks for your password again. You’ll be asked if you trust the author of this project. Since you just created, you can trust yourself!
Using Rust Analyzer
Now that you are connected, you can browse the remote program:
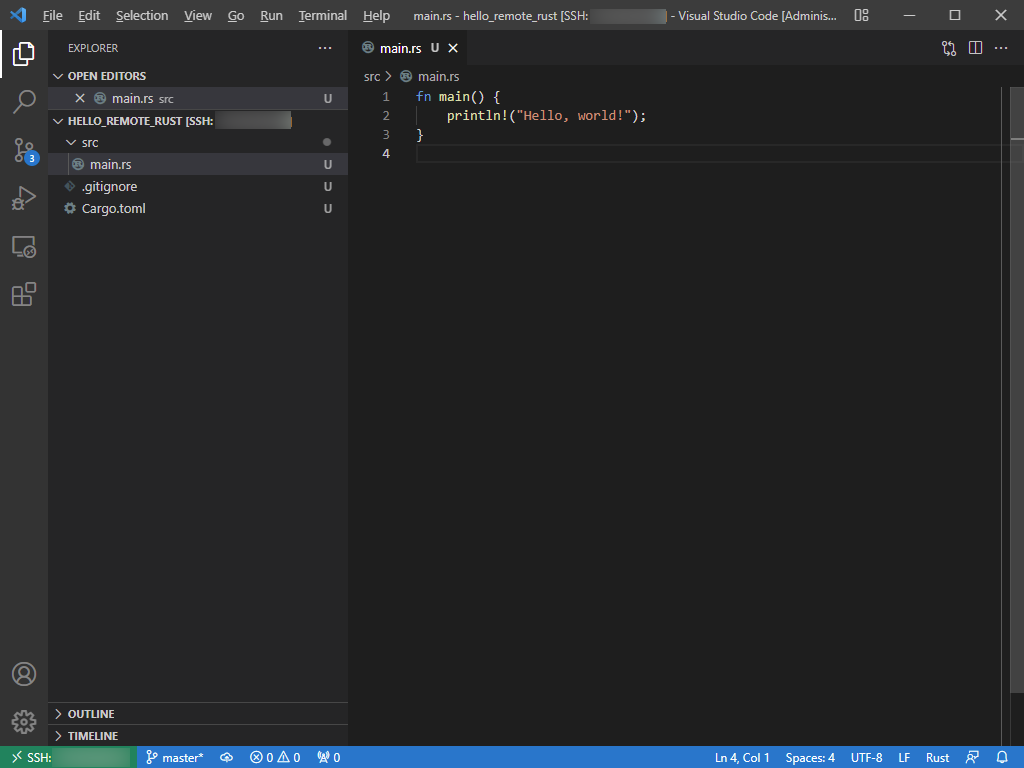
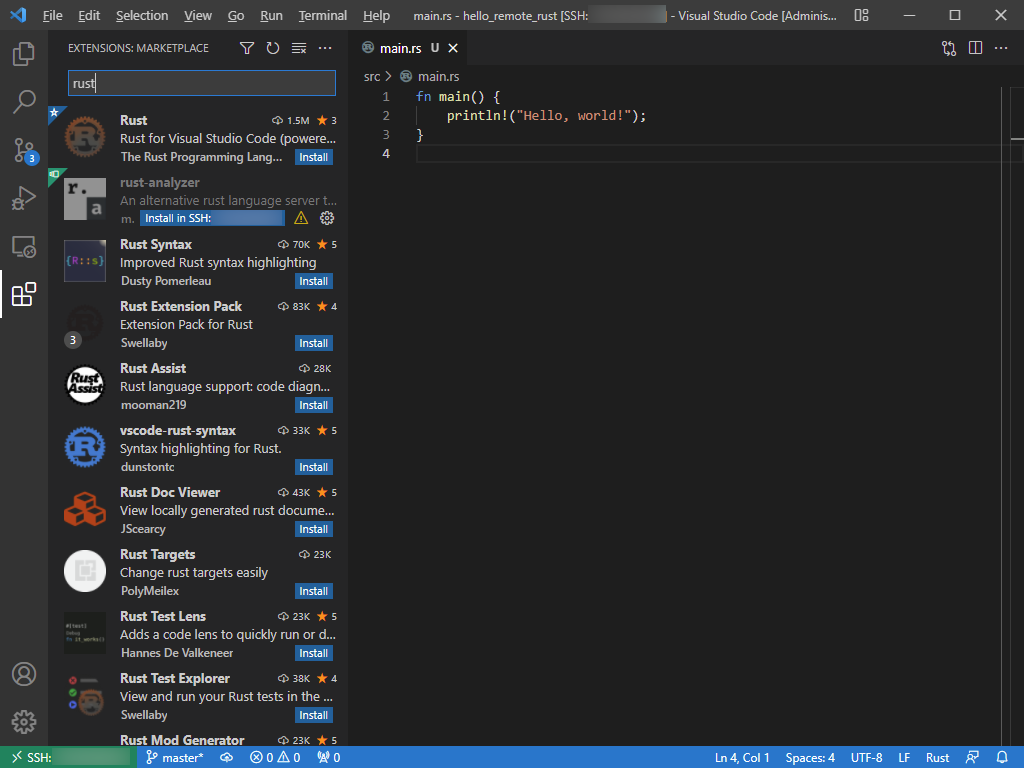
Rust Analyzer is nowhere to be seen! Once again, click the “extensions” button and search for “Rust Analyzer”. There’s a tiny button reading Install in SSH: <ip> next to the list entry for Rust Analyzer:
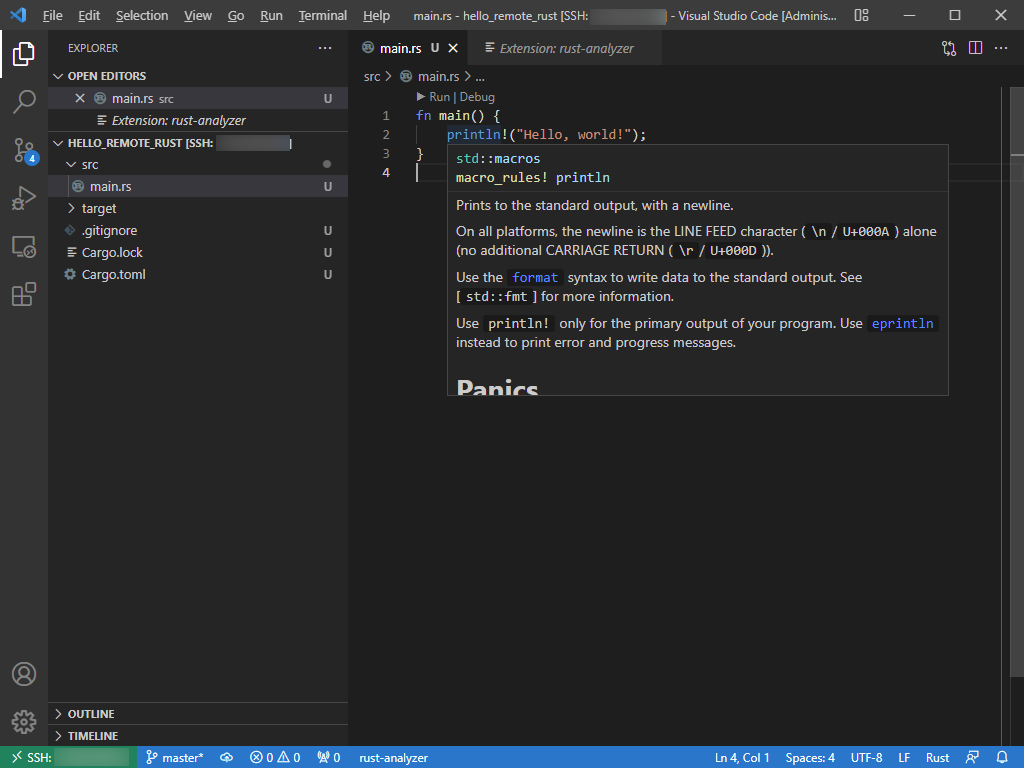
Click this button and wait a moment. Return to your main.rs file, and you now have a working Rust Analyzer on your remote system:
Working Remotely
I really enjoy this setup. If I open a terminal, it creates an SSH session for me—so cargo run runs on the remote server. If I disconnect, I just have to re-type my password when I reconnect—and everything is still there. Git integration through VSCode works, so I can commit/push/pull as normal.
Wrap-Up
Congratulations! You can now write Linux servers from your couch. Compilation, analysis and execution all happen on the remote server—so my laptop battery is hardly touched, and I benefit from compiling on a fast server rather than a slow handheld.